Attack tree
Attack Tree draws the damage scenarios, threat scenarios, attack steps, assumptions and controls of the whole TARA as a tree, not only those that take part in the risk calculation. Each element is a box, and lines lead from it to the elements below it in the tree, for example from a damage scenario to the threat scenario that realizes it. The concept is explained in Attack Path Analysis.
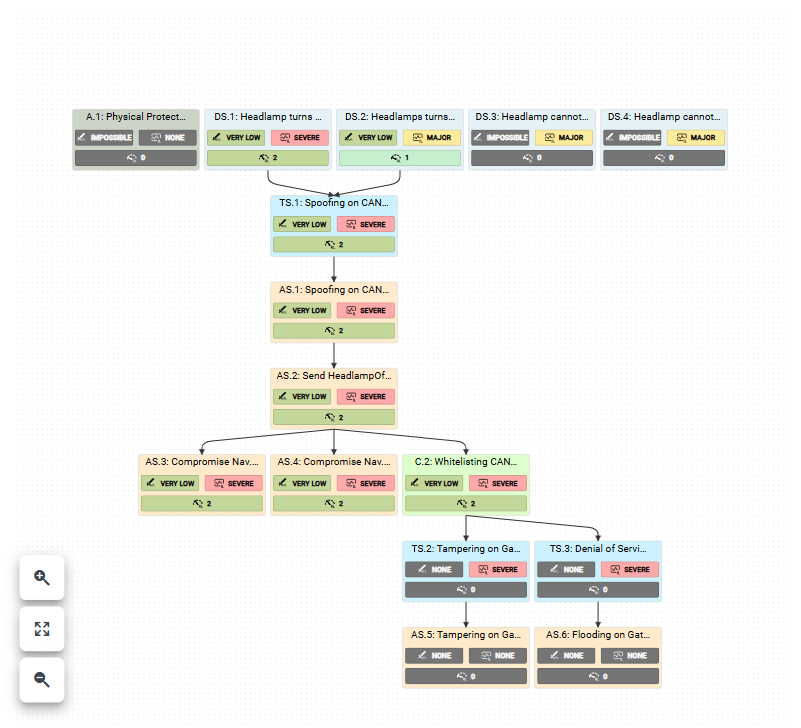
Read the tree
Each box shows the element's name and title and three chips: its attack feasibility level, its impact level and its risk level. How these levels are calculated along the tree is explained in Propagation.
Point at a box to highlight the path that determines its risk; the other elements fade out.
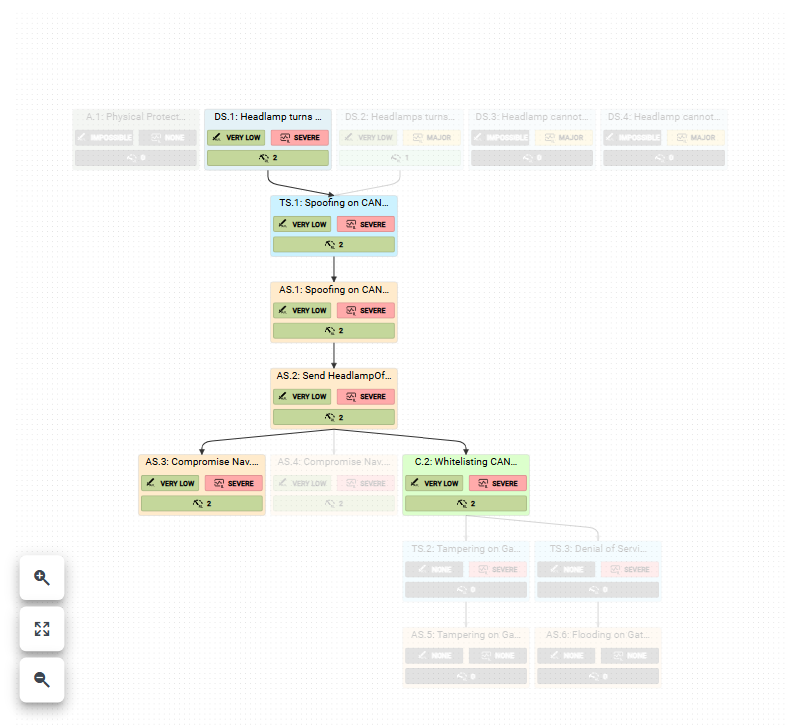
Click a box to open the element in the element column.
Move around
- Drag the background to move the tree.
- The buttons at the bottom left zoom in, fit the whole tree into the window, and zoom out; point at a button to see its name (Zoom in, Fit to screen, Zoom out).
You cannot change the tree itself here. To change an element and its relations, open it in the element column, or edit it on its page, such as Attack Identification or Feasibility Rating.