Table of contents
The „ANALYZE Queries” and „ANALYZE Query Results” views Copy link to clipboard
The ANALYZE Queries and ANALYZE Query Results views operate in concert and allow you to create, edit, and execute queries as well as to view their results.
Queries and query files Copy link to clipboard
Queries are stored in query files and displayed by the ANALYZE Queries view in a tree structure, with each query file at the top level, see the sample screenshot in the introductory section above.
The queries contained in a query file are shown as subordinate nodes of the respective file in the ANALYZE Queries view.
Query files must have the .query filename extension and can be stored anywhere in your workspace. A query file can contain multiple independent queries.
Initially, you don’t have any query files, so the ANALYZE Queries view will be empty.
Please note: Queries have no side effects and will never manipulate any data they are executed on.
Creating a query file Copy link to clipboard
You have several options to create a query file:
- Click on the
 icon at the top of the
ANALYZE Queries view.
- Select the New query file entry in the ANALYZE Queries view’s context menu.
Both actions will open a file creation wizard asking for name and location of the file.
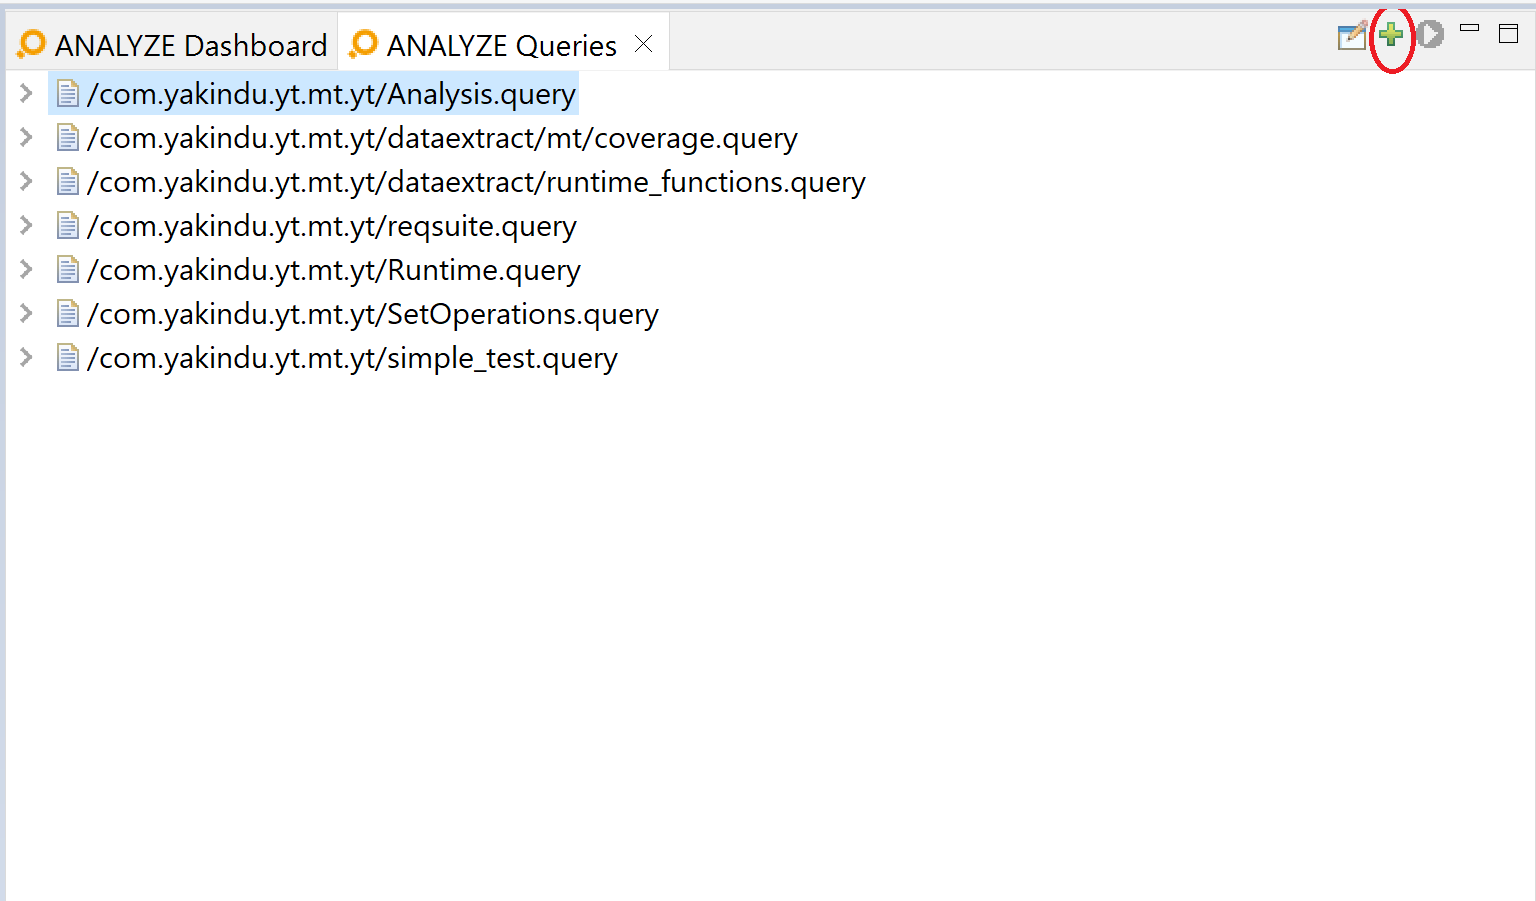
Creating a query file
After the query file has been created, itemis ANALYZE adds it to the ANALYZE Queries view and opens it in an editor. In this editor, you can formulate your queries, using the ANALYZE query language.
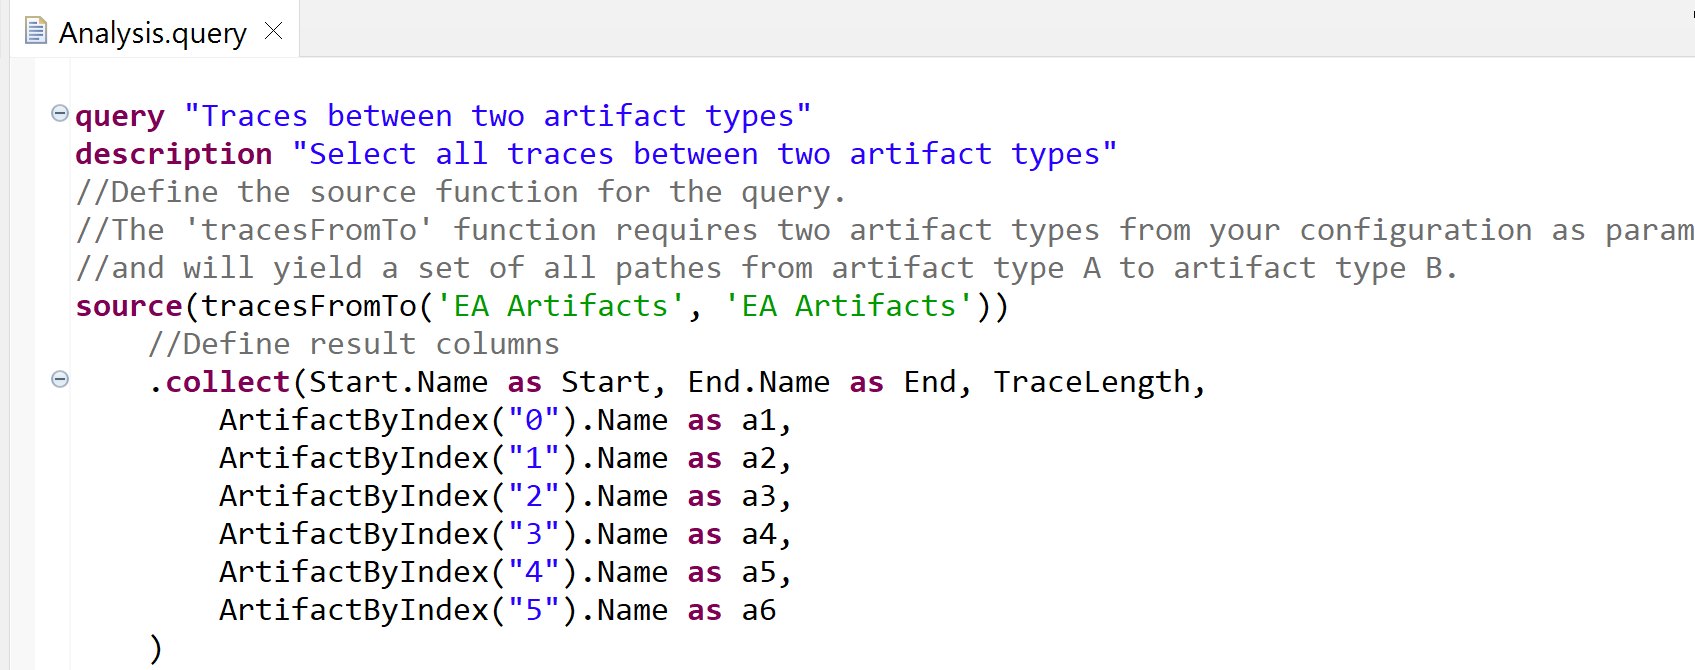
Editing queries
You can add as many queries as you want to a query file, but it is advised to maintain different queries in different files or at least maintain a clear structure, depending on your query’s purpose and semantics.
Opening a query file Copy link to clipboard
To open a query file, you have several options:
- Double-click on the query file in the ANALYZE Queries view.
- Right-click on the query file in the ANALYZE Queries view, then select Edit in the context menu.
- Select the query file in the
ANALYZE Queries view, then click on the
 button at the top of the view.
The query file will be opened in the query editor.
Executing a query Copy link to clipboard
You have the following options to execute a query:
- Double-click on the query in the ANALYZE Queries view.
- Right-click on the query in the ANALYZE Queries view, then select Execute in the context menu.
- Select the query in the
ANALYZE Queries view, then click on the
 button at the top of the view.
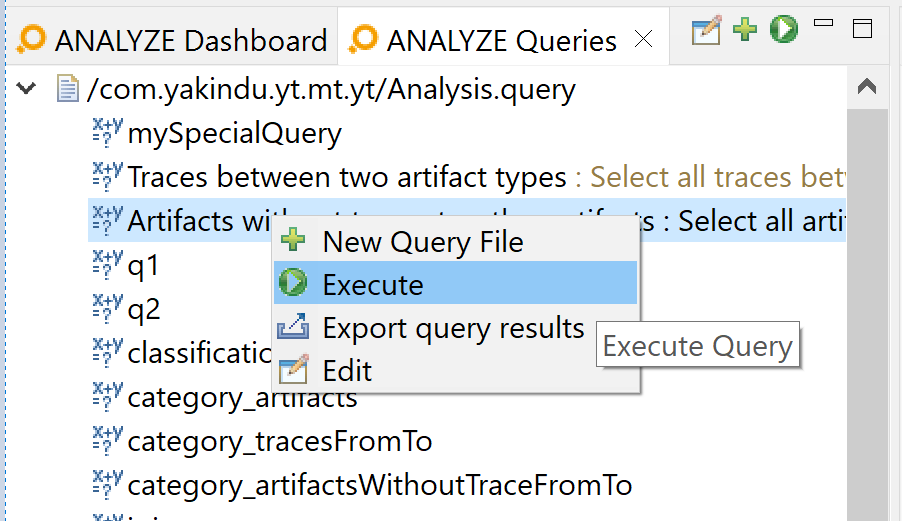
Executing a query
Inspecting query results Copy link to clipboard
After executing a query, the ANALYZE Query Results view shows the results. Please note that some queries may take considerable time to execute, dependent on their complexity and on the size of your data model. A progress bar will inform you about the status of the query execution.
Each query execution adds a new result tab to the ANALYZE Query Results view. That is, you can execute the same query several times without loosing any results of formerly executed queries. To differentiate query results from each other, each result tab gets an individual name assigned, consisting of the query name and a time stamp.
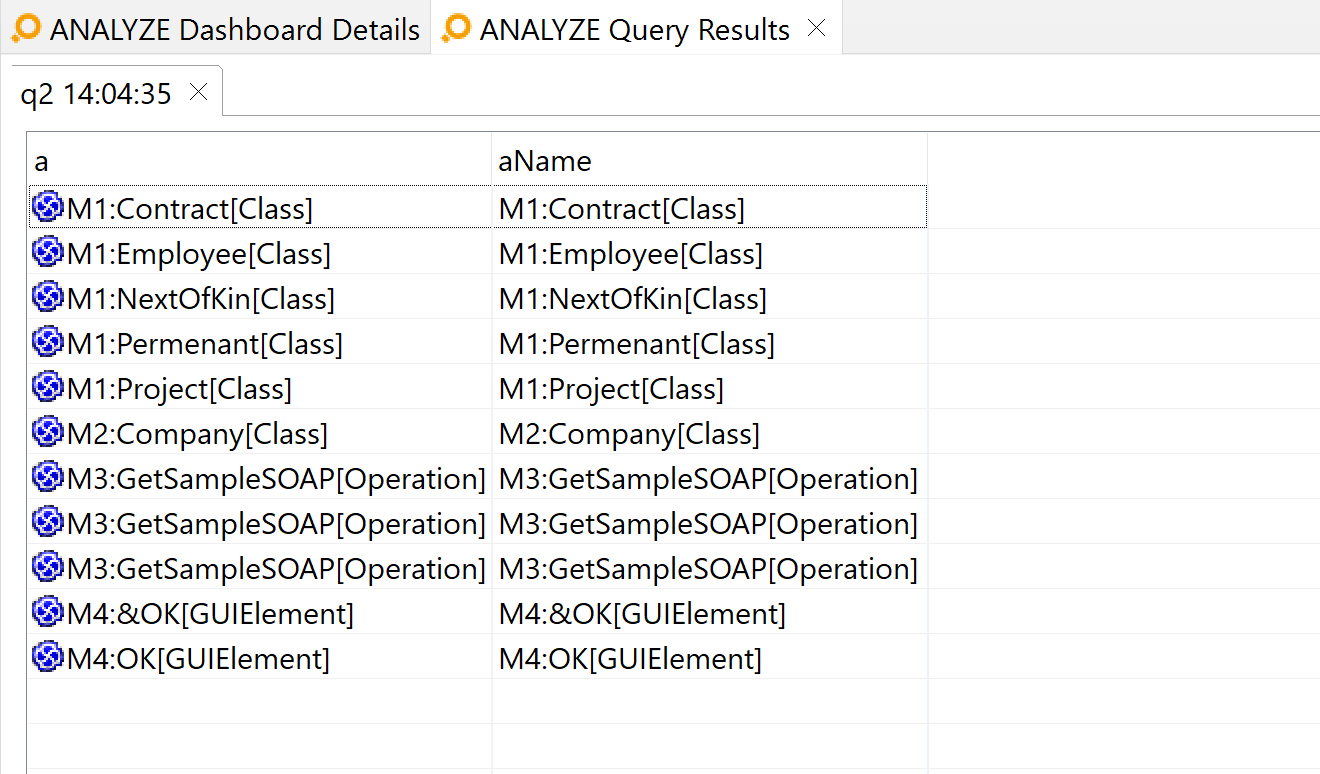
Inspecting query results
Exporting query results to Excel or CSV files Copy link to clipboard
By default, query results are displayed in the ANALYZE Query Results view. However, it is possible to export them to a file, either to an Excel spreadsheet or to a CSV (Comma Separated Values) file. There are several ways to achieve this:
- From the ANALYZE Queries view: In the context menu of the query, select Export query results.
- From the ANALYZE Query Results view: Click on the toolbar button Export query results.
- From the ANALYZE menu: Select Reporting → Export query results.
In any case, you will be prompted with a dialog asking for some parameters:
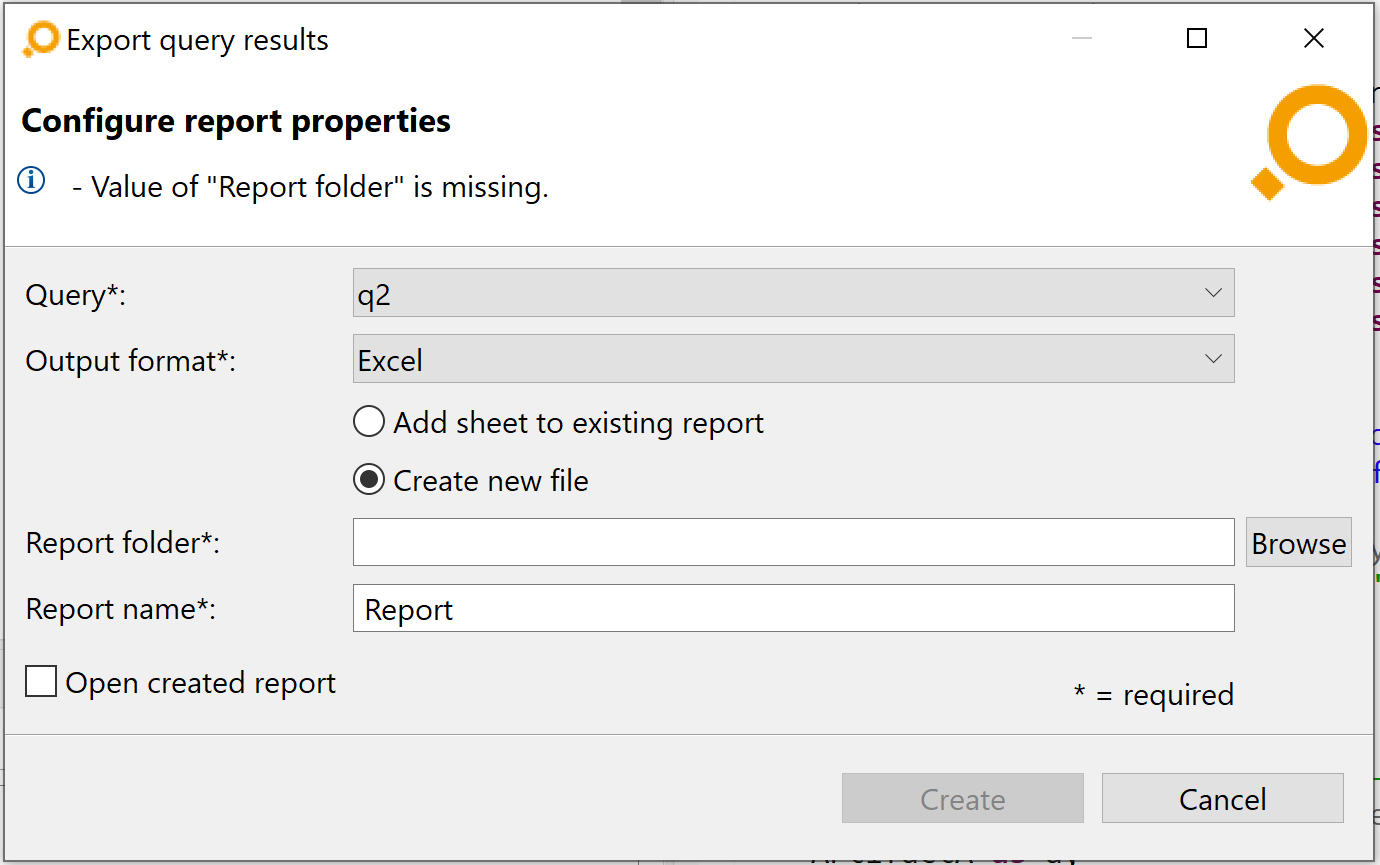
Exporting a query result
- Query: The query to be executed and whose results will be exported to an Excel or CSV document.
- Output format: Select the document format, either CSV or the Excel format .xlsx. However, please see option Report name below.
- Add sheet to existing report: If this option is selected, the report will be added as a new sheet to an existing Excel document. This option supports also append to files with the extension .xlsm, .xltx, and .xltm. It is not available for CSV export.
- Create new file: If this option is selected, a new document will be created. If the target document already exists, you will be asked for confirmation before overwriting the file. For CVS export, this option is automatically selected.
- Report folder: The folder the report file will be created in, overwritten in, or (in case of Excel) appended to. The folder must be located in an open project of the current workspace.
- Report name: The name of the report. This corresponds to the name of the Excel or CSV file that will be created or modified. It may optionally contain a filename extension, i.e., .xls, .xlsx, or csv. If a filename extension is specified, the Output format option will be ignored. If no filename extension is specified, the value will be automatically derived from the Output format option. If you selected a valid Report folder already, the drop-down menu will show the existing Excel and CSV files in that folder. This makes it easier to select a document to replace or append to.
- Open created report: Check this option to open the created report in Excel after the query results have been successfully exported.
Please note: If the Excel document is already open in Excel, itemis ANALYZE may not be able to write the file. In this case, a dialog will ask you to close the file in Excel and retry.
Adding derived attributes to the Artifacts Copy link to clipboard
Attributes which are defined in an artifact type, but not mapped by any configuration of the type can be set by
attribute queries. The query must collect one column named
Artifact with the artifact itself, which should be updated, and one column per attribute which should be updated with the same name as the attribute. Missing attributes or mapped attributes in the configuration are ignored.
Example attribute query:
attribute query "testCoverage"
source (allArtifacts('Requirements (Excel)')).collect (
	it as Artifact,
	"passed by query result" as testCoverage
)
This Query will update the attribute testCoverage of all Requirements (Excel) to the fixed value „passed by query result”.