Table of contents
How to use Deep C/C++ Integration Copy link to clipboard
Using Deep C/C++ Integration is pretty straightforward:
- You have to use a “C/C++ domain” statechart or change the domain of an existing statechart.
- The Eclipse project your statechart is in must be a CDT project.
The subsequent sections will explain how to use Deep C/C++ Integration in practice, using a sample project. In this example, we will define some geometry types like Point or Triangle in C/C++ header files and demonstrate how to make them available and use them in a statechart model. While this example covers C constructs only, there is no extra effort involved in using C++ features – with one exception: Your project must be a C/C++ or a pure C++ project.
Creating a new C project Copy link to clipboard
- In the Eclipse main menu, select File → New → Project…. The New Project wizard opens.
- Select
C/C++ → C Project.
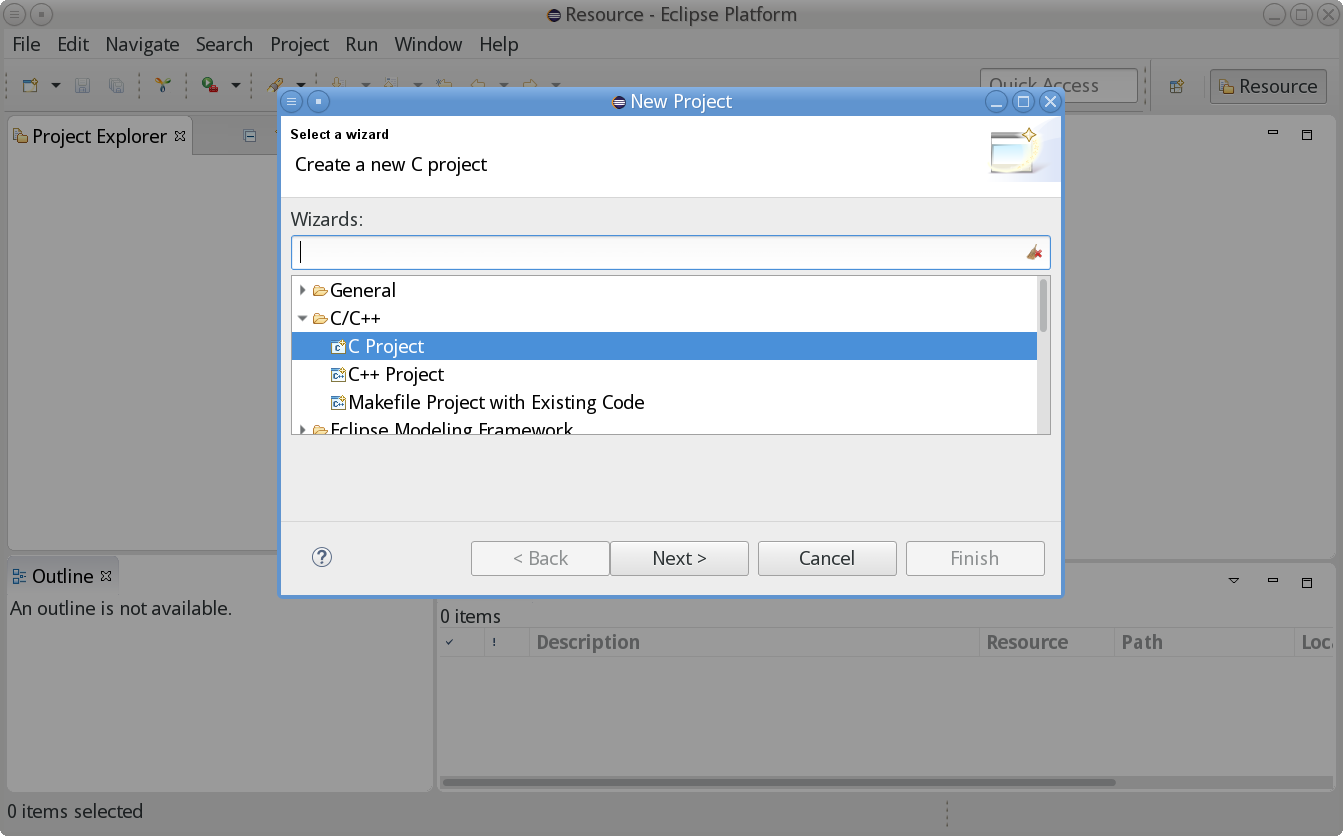
- Click Next >. The C Project dialog appears.
- Enter the name of your project into the Project name field. For the sake of this example, we call the project Geometry.
- Specify the location of the project folder by either using the default location or by explicitly specifying a directory in the Location field.
- Select the Project type. In order to keep things plain and simple, for this example we create an Empty Project.
- Select the toolchain you want to work with. It contains the necessary tools for C development. By default only the toolchains supporting your local platform are displayed. Since this example has been created on a Linux machine, the toolchain
Linux GCC is shown.
- Click Next >.
- Specify platforms, configurations, and project settings. This is more specific to C than to itemis CREATE, so we won’t go into any details here.
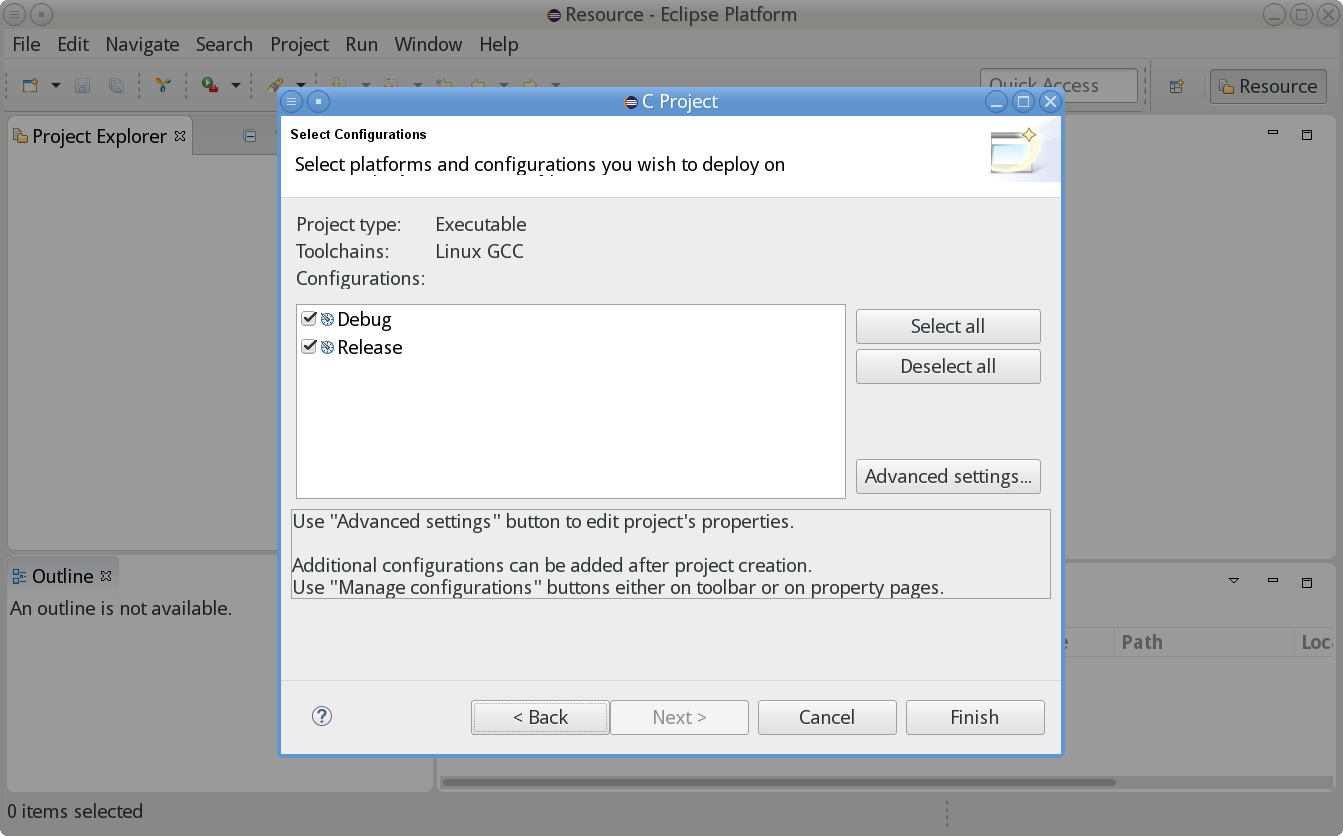
- Click Finish.
- Eclipse asks whether it should associate this kind of project with the C/C++ perspective. Usually this is what you want, so set a checkmark at Remember my decision and click Yes.
- Eclipse creates the C project, here Geometry.
Creating a C header file Copy link to clipboard
Now we can create a C header file specifying our own C type definitions which we can use in a state machine later. In order to create the file, let’s proceed as follows:
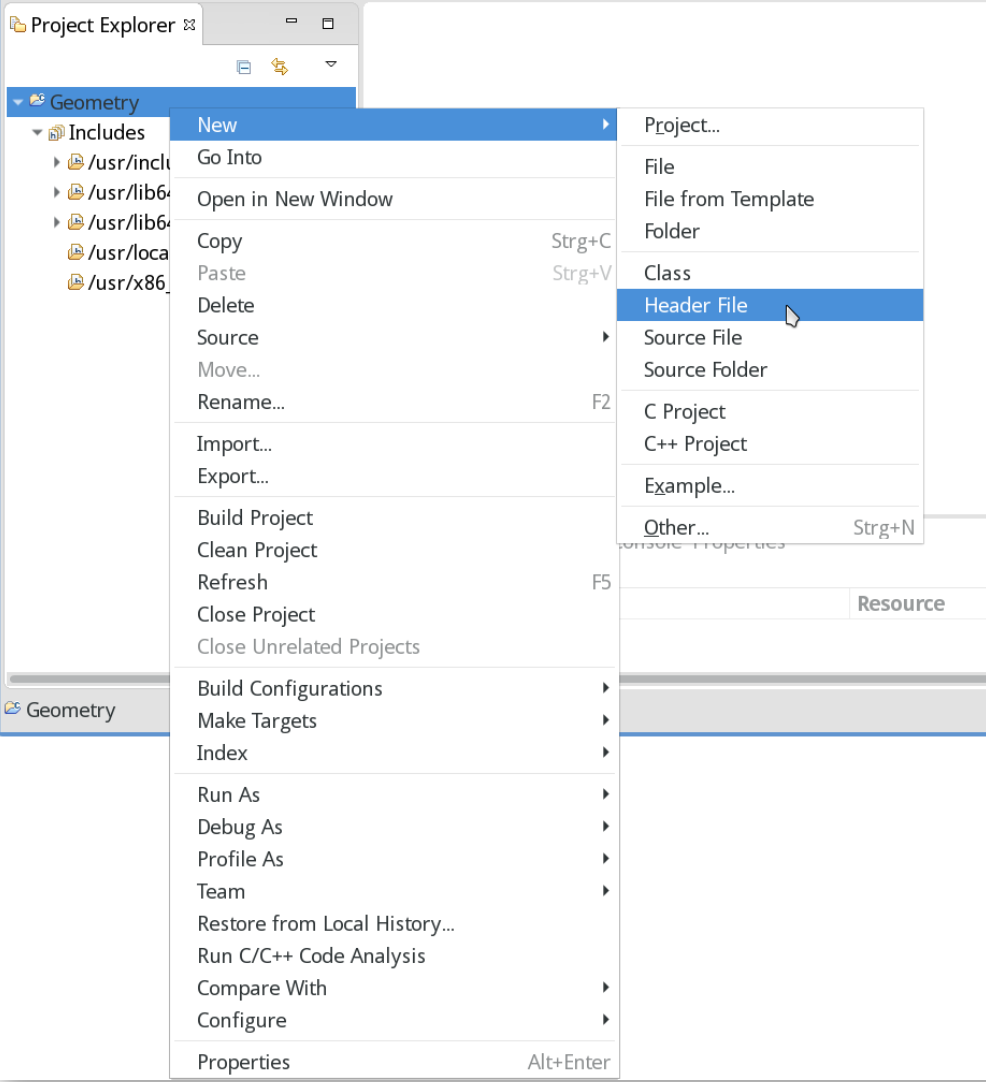
- In the project explorer view, right-click on the project. The context menu opens.
- In the context menu, select
New → Header File.
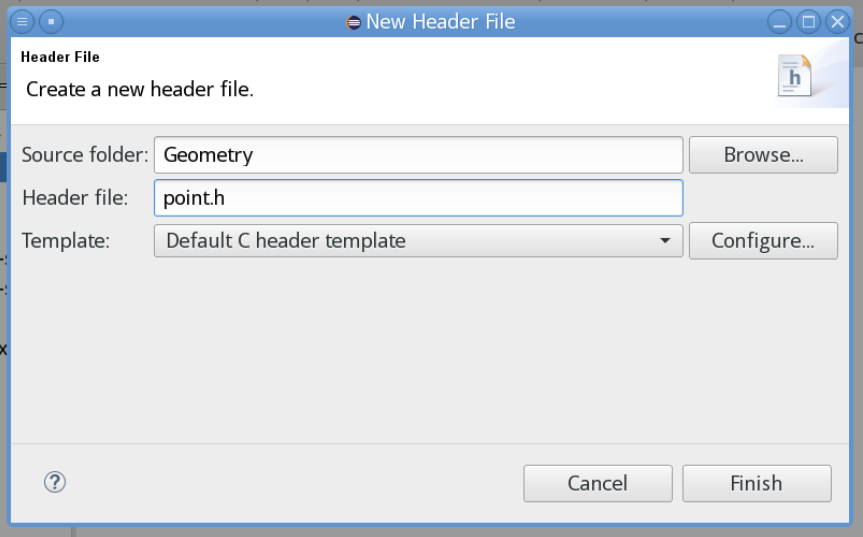
- The dialog
New Header File is shown. Specify the name of the header file. Here we choose
point.h.
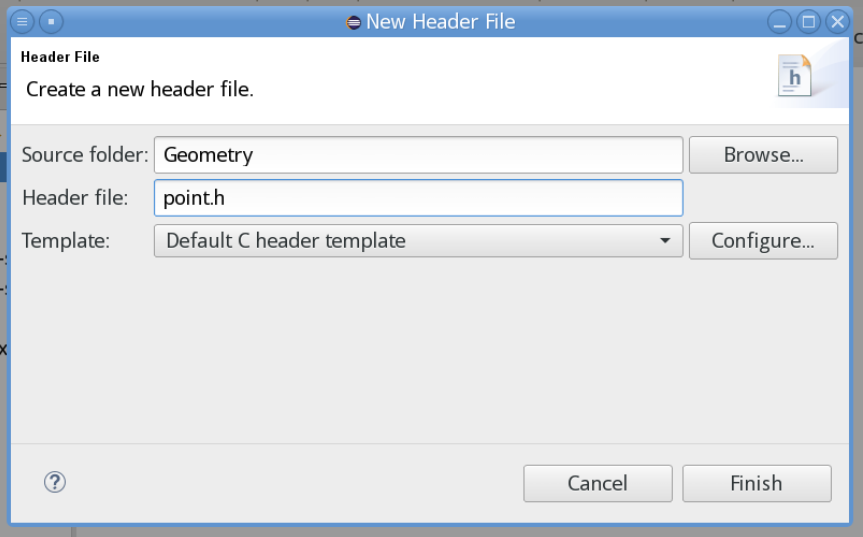
- Click Finish.
- The header file
point.h is created.
Defining a C struct Copy link to clipboard
In the created header file we define a struct type named Point, which we will later use in a statechart. A (two-dimensional) point consists of an x and a y coordinate. We choose int16_t to represent a coordinate, i.e., a 16-bit signed integer. The complete header file containing the struct definition looks like this:
/*
 * point.h
 *
 */

#ifndef POINT_H_
#define POINT_H_

#include <stdint.h>

typedef struct {
    int16_t x;
    int16_t y;
} Point;

#endif /* POINT_H_ */
Please note: In C it is possible to define structs, unions and enums without a typedef. They can be referenced by using the corresponding qualifying keyword ( struct, union, or enum, respectively). As the statechart language does not support these qualifiers, the usage of struct, union and enumeration types is currently restricted to those defined by a typedef.


