Table of contents
Using C types in a statechart Copy link to clipboard
Creating a statechart model Copy link to clipboard
Let’s create a statechart model now to make use of the C type Point we have just defined.
- Right-click on the project. The context menu opens.
- Select New → C Statechart Model …. The New itemis CREATE wizard is shown.
- In the dialog, specify the directory and the filename for the new statechart model file. The filename should end with
.sct. - Click Finish. If Eclipse asks you whether to switch to the itemis CREATE Modeling perspective, please confirm.
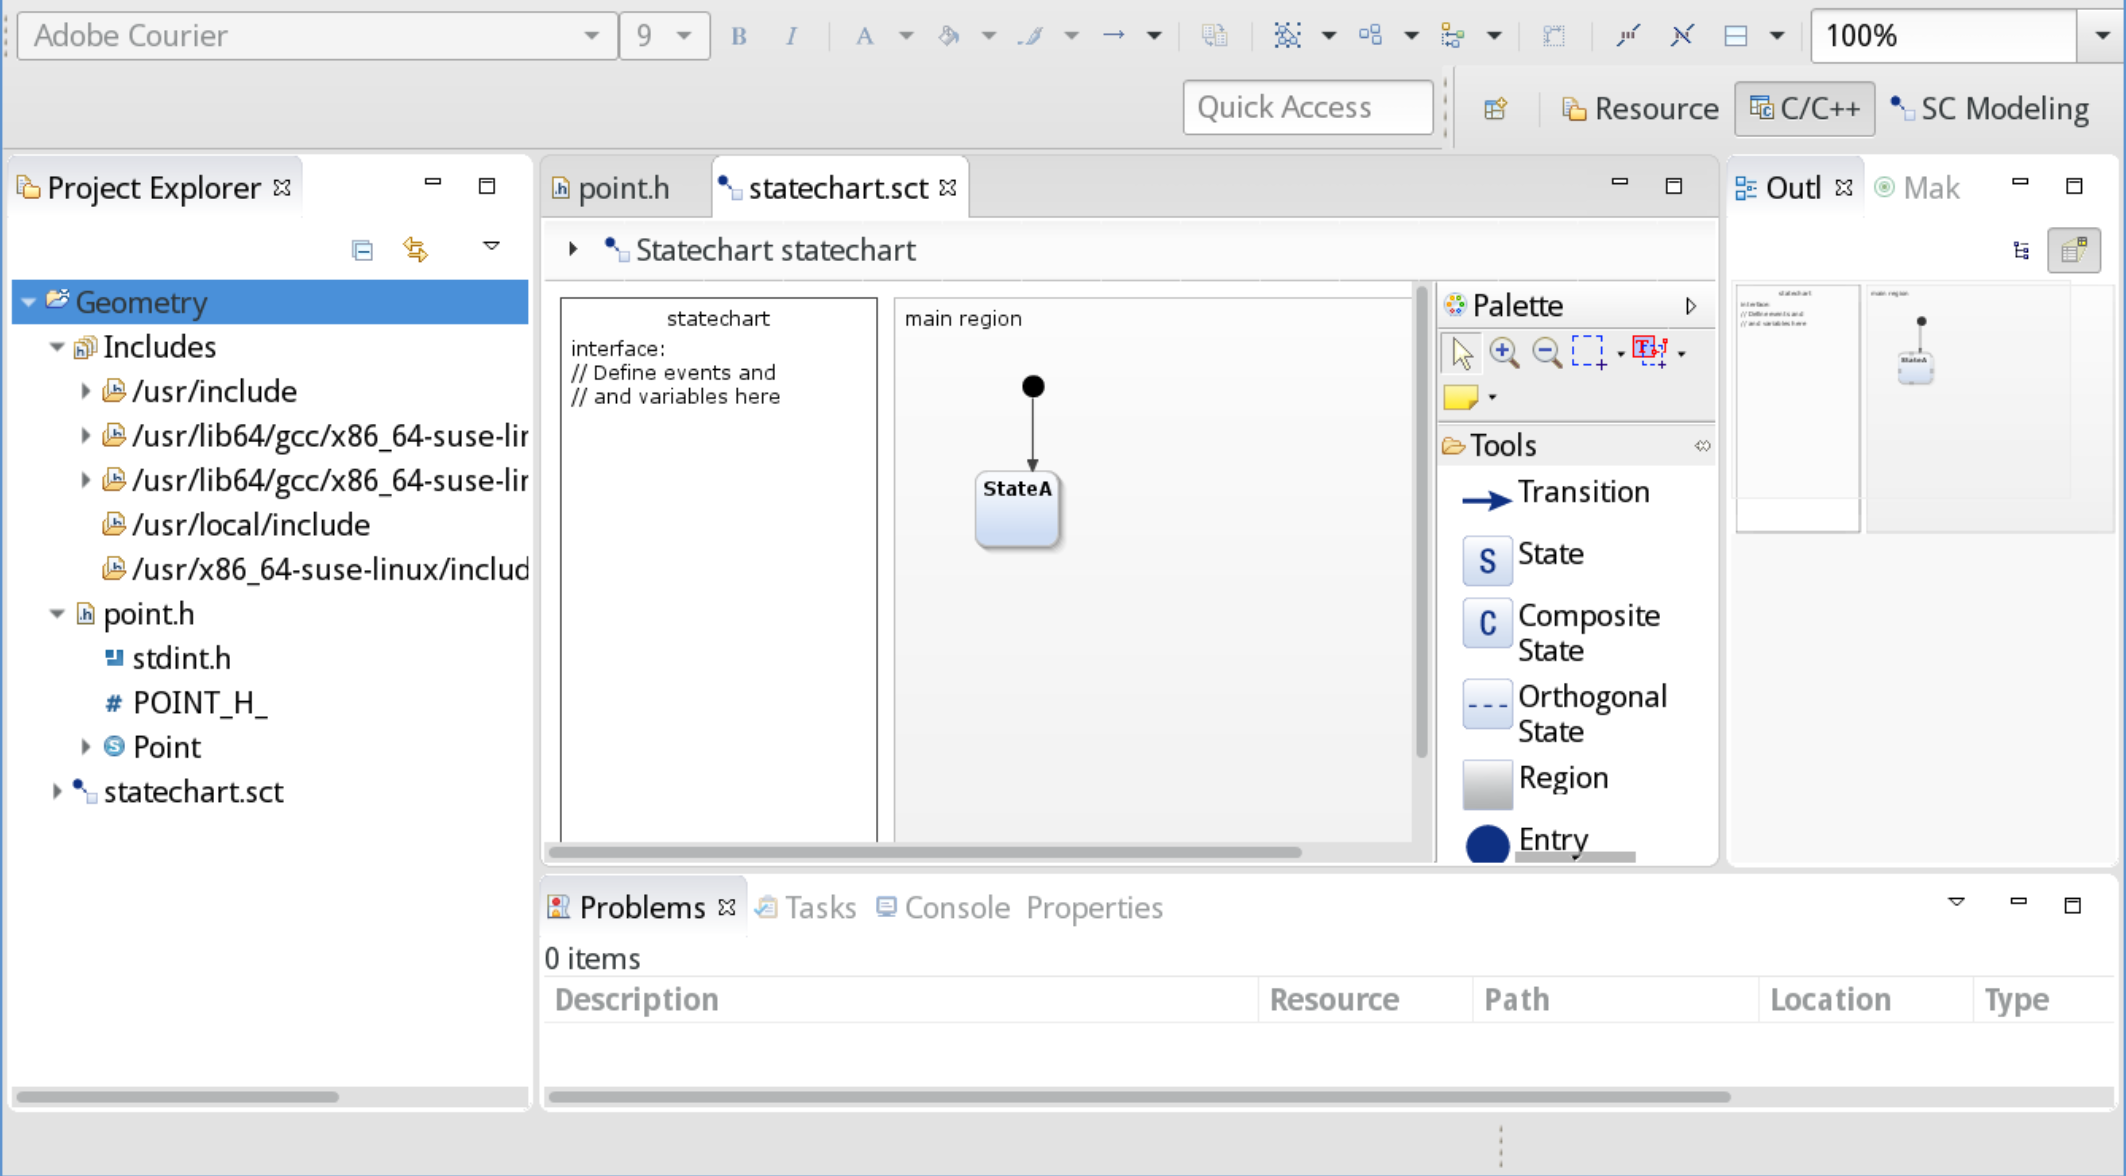
- The new statechart model is created:

Defining a C-type variable in a statechart Copy link to clipboard
Variables are defined in the definition section on the left-hand side of the statechart editor. Double-click into the definition section to edit it.
In order to make use of the struct defined above we have to import the point.h header file:
import: "point.h"
With the definitions from point.h at hand, we can declare a variable pointA of the Point type. In the statechart’s definition section, enter the following text:
interface:
    var pointA:
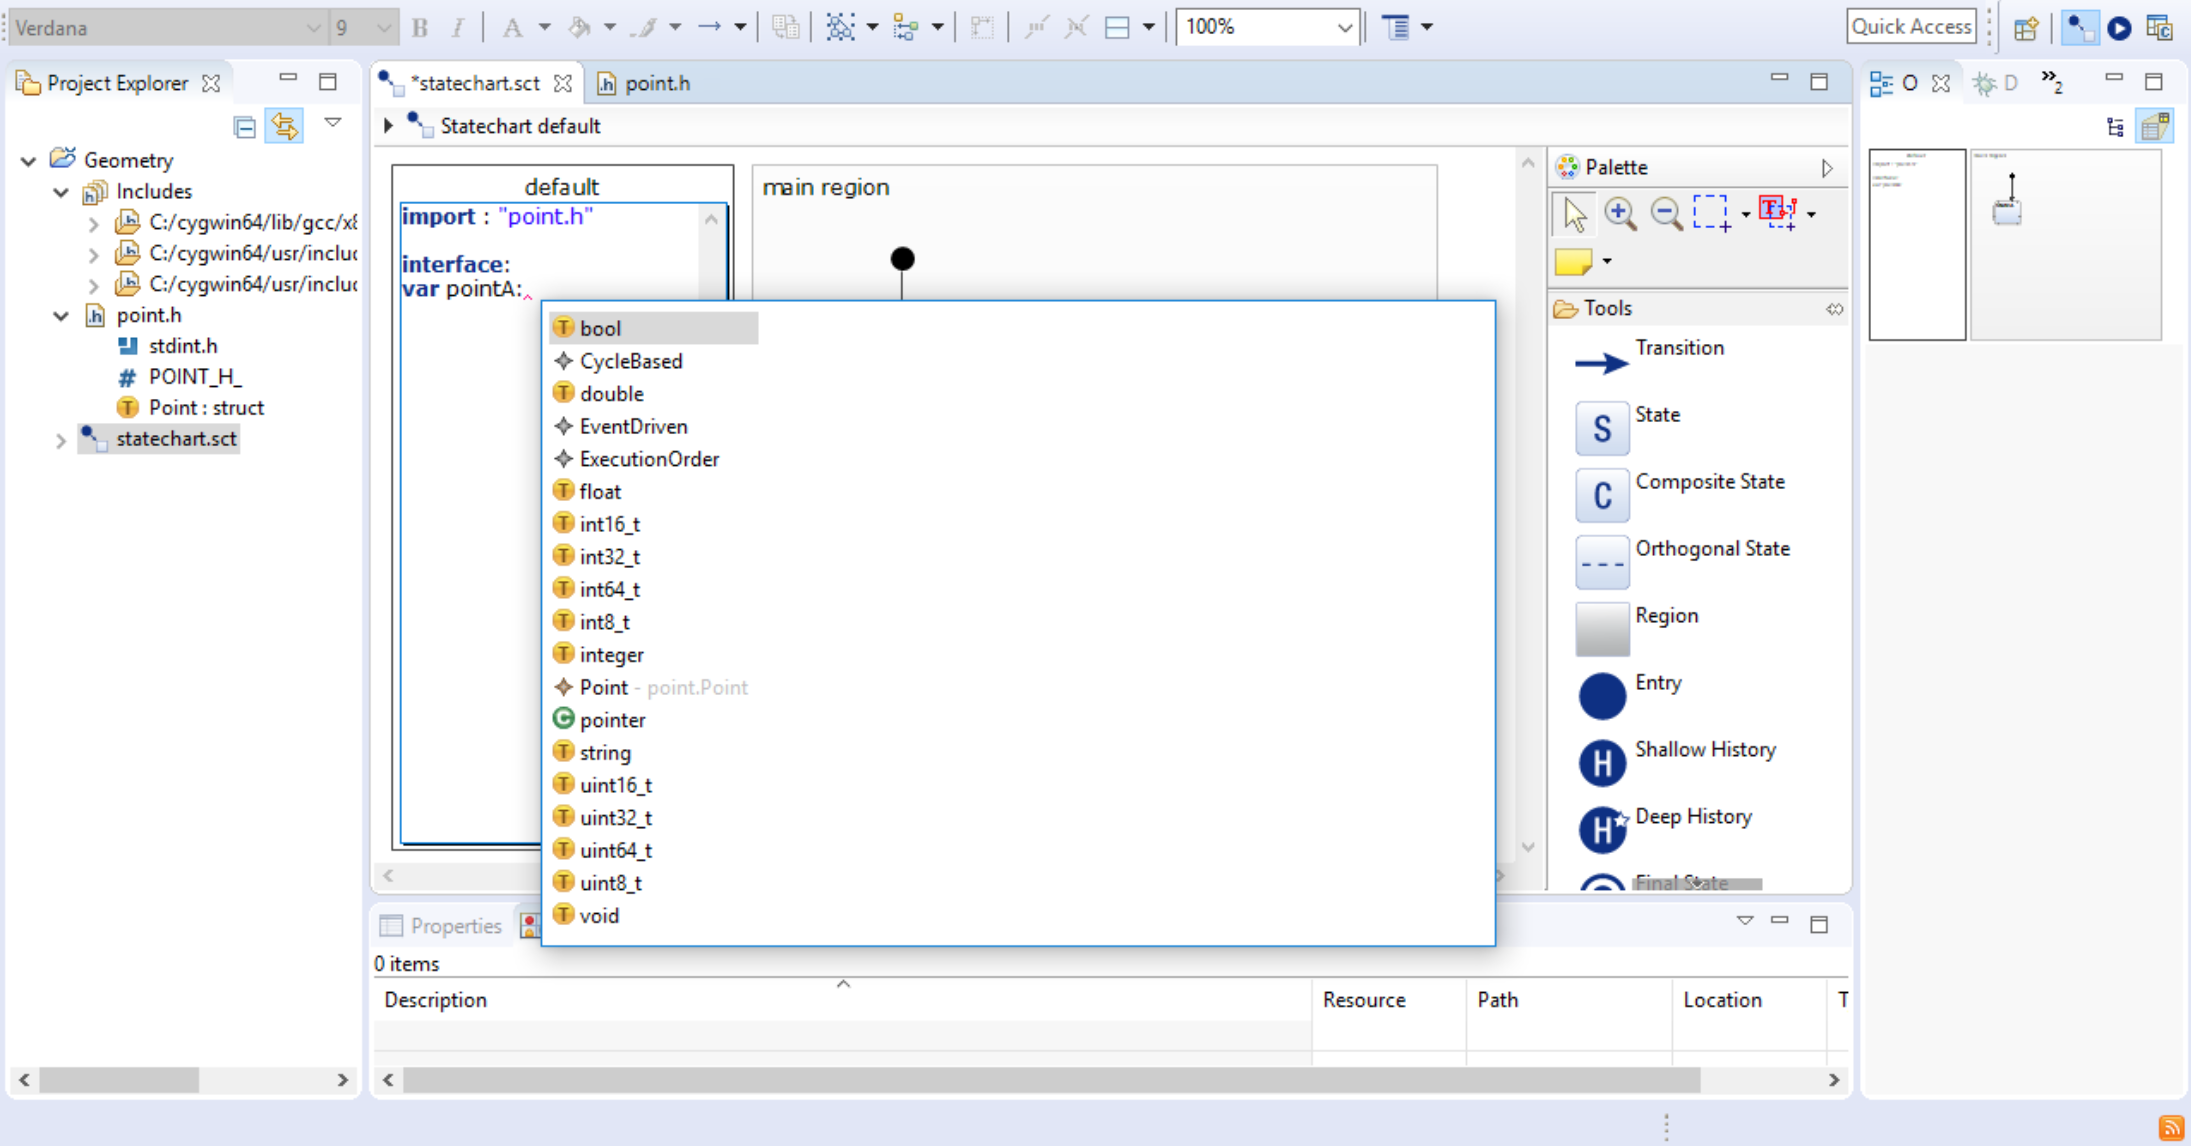
On the right-hand side of the colon in the variable declaration, the variable’s type must follow. In order to see which types are available, press
[Ctrl+Space]. The content assist opens and shows the C types available, depending on the headers imported within your statechart, i.e.
- the C basic standard types,
- the C99 types, provided by including stdint.h,
- the self-defined Point type, provided by including point.h,
- the qualifier pointer.

Using content assist to display available types
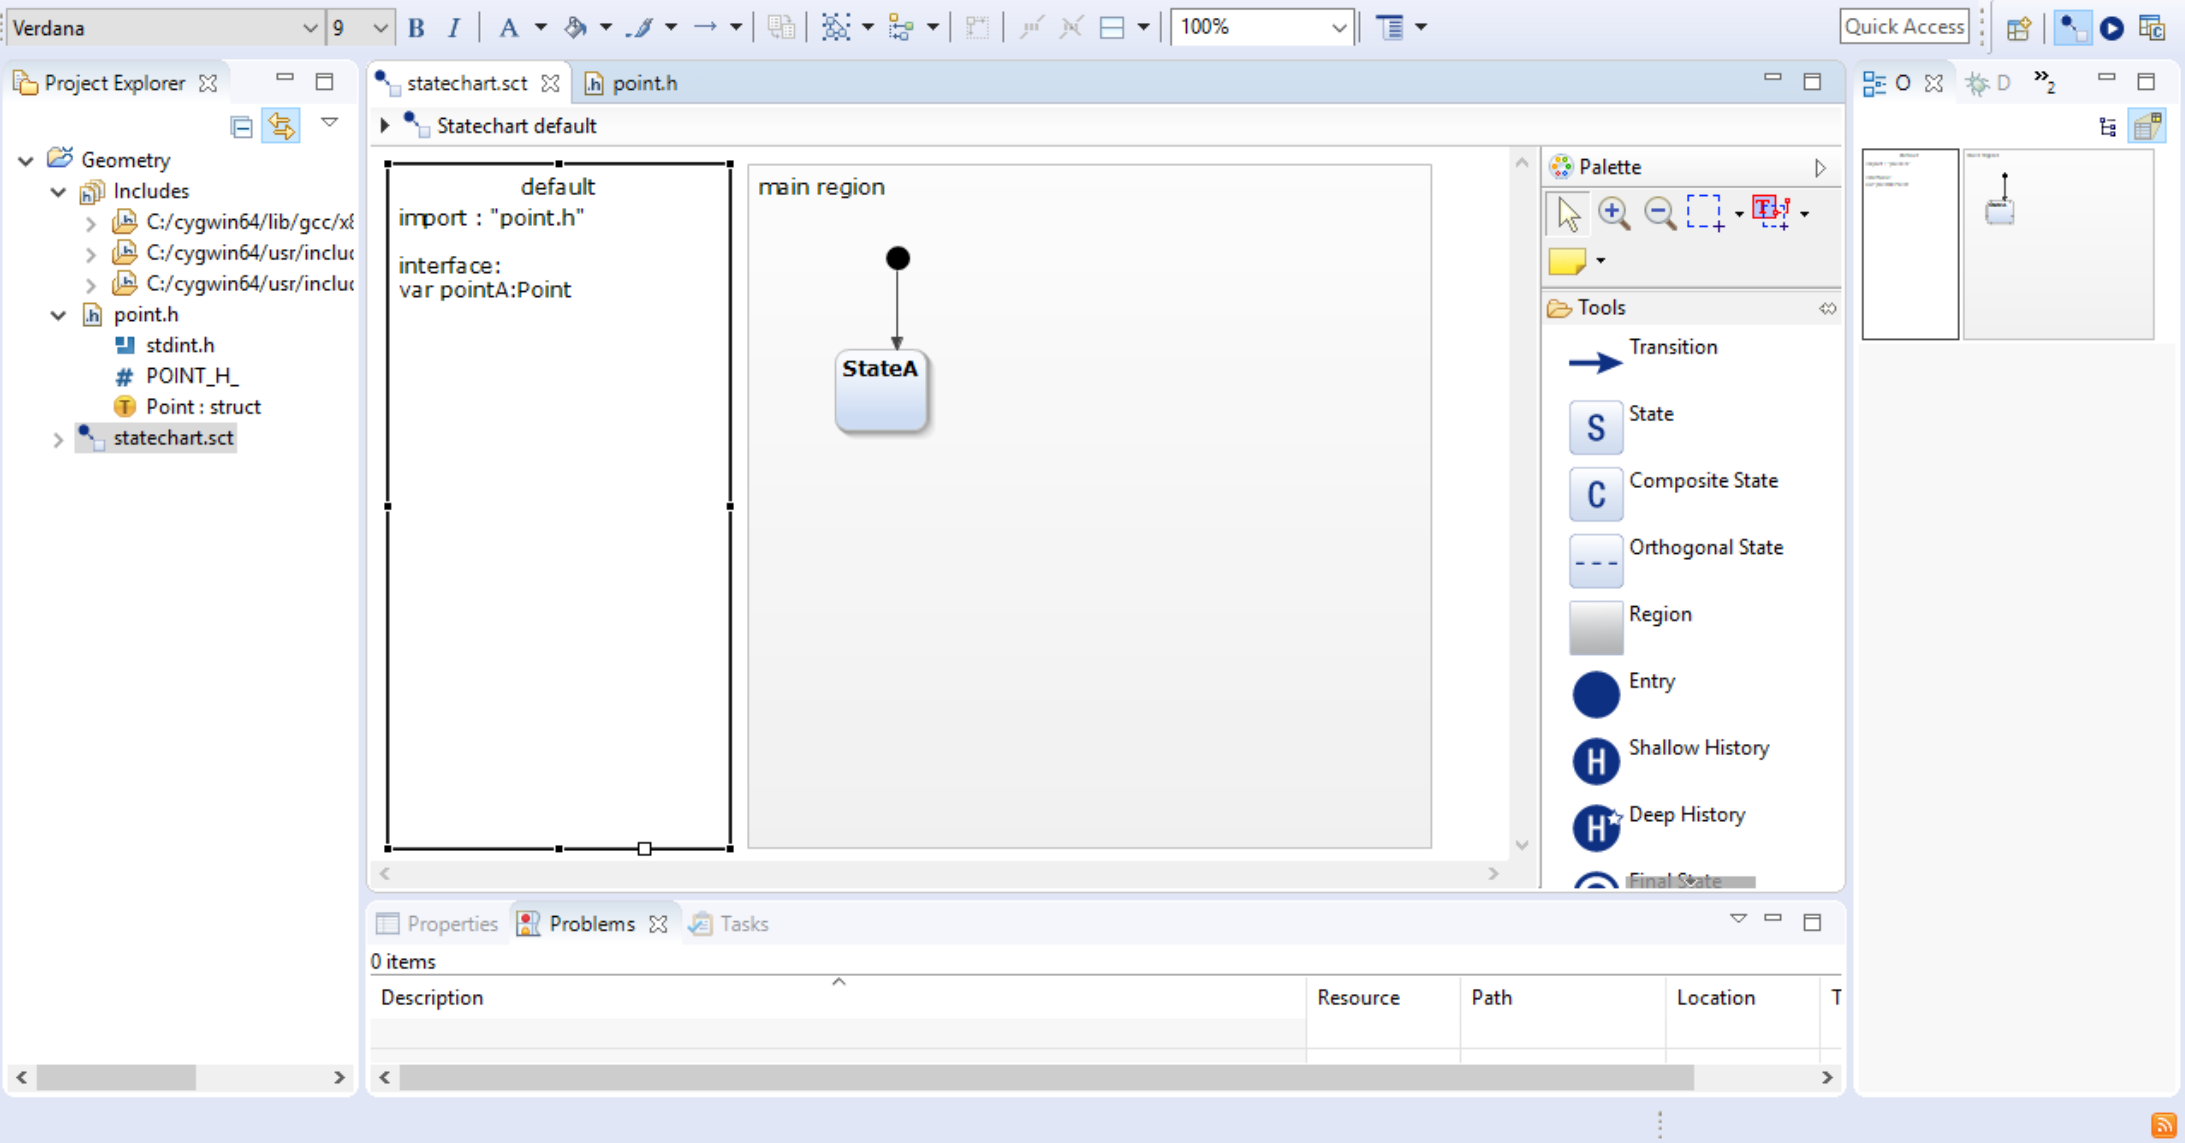
Selecting the Point menu entry completes the variable definition:

A Point variable
Using a C-type variable in a statechart Copy link to clipboard
A statechart variable with a C type can be used everywhere a “normal” statechart variable can be used.
It is now possible to declare variables with the type of the different statecharts, namely “CycleBasedStatemachine” and “EventDrivenStatemachine”. This is a representation of the statechart interface, which allows the
users to model multi-statemachine scenarios without binding the variables to a specific statechart. To access these types the internal “statemachine.types” have to be imported with the “import” keyword.
Let’s consider the above example extended by an additional count variable of the C99 int8_t standard type. Additionally, we introduce an event that will be used as a trigger to switch between states.
import: "point.h"
interface:
    var count: int8_t
    var pointA: Point
    in event tick
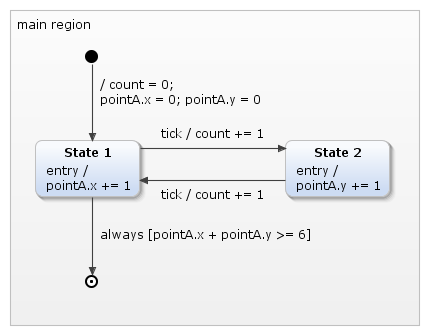
The statechart below uses these variables in various places, i.e., in transition actions, in internal actions, and in guard conditions.

Using C-type variables
Variables of primitive types like
var count: int8_t are accessed as expected, e.g.,
count = 0 or
count += 1;
The dot notation is used to access structure elements. For example,
pointA.x = 0; pointA.y = 0 sets
pointA to the origin of the coordinate system.
The statechart type system Copy link to clipboard
When parsing a C header file, itemis CREATE are mapping the C data types to an internal type system. You can open a C header file in Eclipse with the Sample Reflective Ecore Model Editor to see how the mapping result looks like.
In case you are interested in the EMF model underlying itemis CREATE’s type system, you can find it in the source code of the itemis CREATE open edition at /org.yakindu.base.types/model/types.ecore.
